
Mold temperature is one of the most critical parameters in the injection molding process, directly influencing the dimensional accuracy, surface quality, mechanical properties, and production efficiency of plastic lunch boxes. Precise control of mold temperature helps reduce defects such as weld lines, sink marks, and warpage, while balancing cycle time and product quality. This guide provides a practical overview of mold temperature control principles, key parameters, implementation methods, and common issues—specifically tailored for lunch box production.
- Core Principles of Mold Temperature Control in Lunch Box Molding
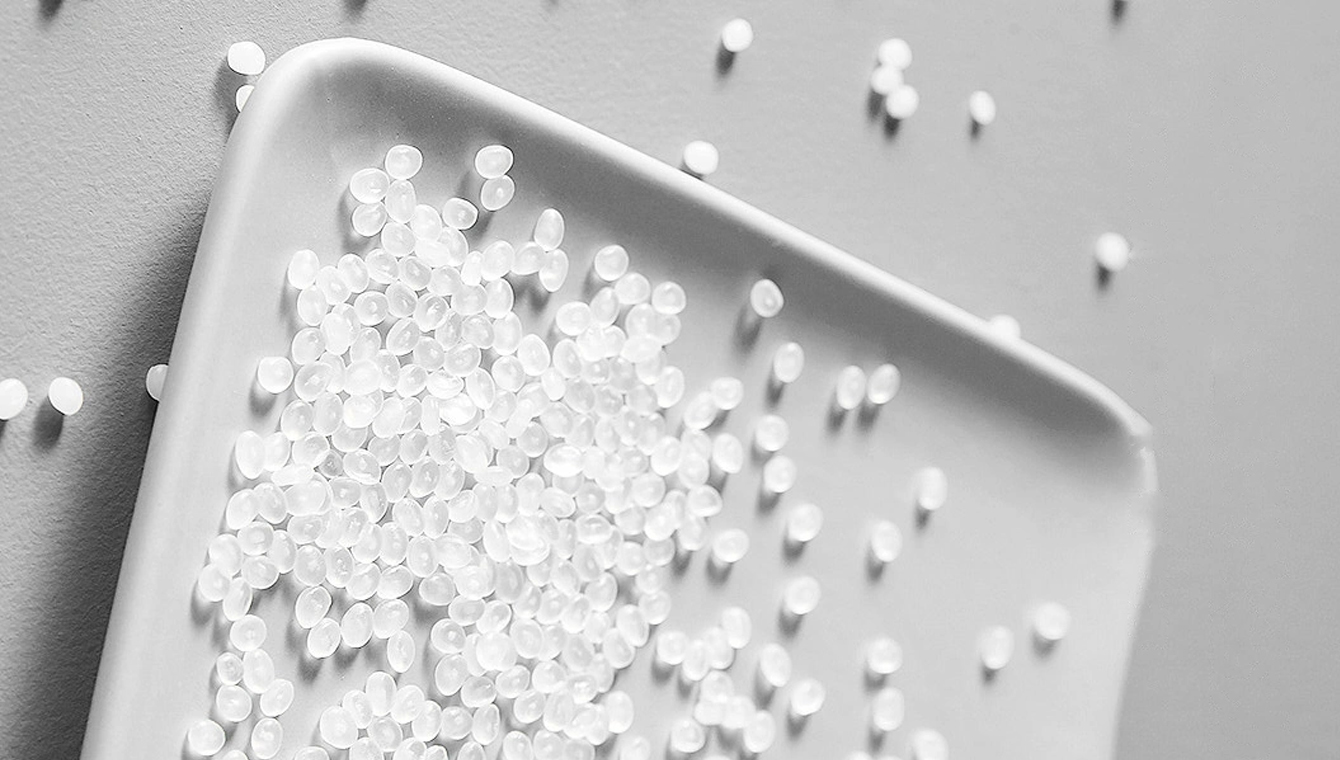
Lunch boxes are typically made from crystalline plastics such as Polypropylene (PP) , which require careful temperature management:
Standard PP lunch boxes: Mold temperature is generally maintained between 40–80°C. This range promotes uniform crystal growth, enhancing toughness, heat resistance, and dimensional stability.
Mineral-reinforced PP (e.g., PP+Talc): Slightly higher temperatures (50–80°C) are recommended to improve melt flow and reduce internal stress.
High-gloss or transparent lids: Dynamic temperature control (high-temperature filling followed by rapid cooling) is used to achieve a flawless surface finish.
Deviations from the ideal temperature range can lead to warpage, poor sealing, visible sink marks, and weld lines—impacting product yield and performance.
- Key Parameters and Setting Guidelines for Lunch Box Production
Parameter Settings Based on Key Factors
| Factor | Temperature Guideline | Example (Lunch Box Application) |
| Material Type | Crystalline plastics (e.g., PP) require higher mold temperatures | Standard PP: 45–55°C; Transparent PP lid: 50–70°C |
| Part Geometry | Thin sections (edges, snaps): higher temperature for better flow; thick sections (base): lower to avoid sinking | Edges/snaps: 55°C; Base ribs: 45°C |
| Surface Requirements | Smooth interior, glossy or defect-free exterior | High-gloss lid: dynamic control (120°C filling → 30°C cooling) |
| Cycle Efficiency | Lower temperatures shorten cooling time, but must not compromise quality | Optimized setting: 50°C; cycle time: 25–30 seconds |
Core Setting Principles
Always start with the material supplier’s recommended temperature range and fine-tune accordingly.
Maintain a cavity-to-core temperature difference of ≤5°C to prevent warping.
For multi-cavity molds (e.g., 4-cavity lunch box tools), ensure temperature variation between cavities is ≤3°C for consistent quality.
III. Implementation Methods for Effective Temperature Control
Hardware Setup: The Foundation of Quality
Use high-precision mold temperature controllers (accuracy ±0.5°C) with PID auto-tuning, suitable for PP processing ranges (0–120°C).
Optimize cooling channel design: Minimum diameter 8 mm, positioned 10–15 mm from the cavity surface. Use conformal cooling for complex areas like snap-fits and ribs to ensure uniform heat transfer.
Install temperature sensors (thermocouples) at critical points (e.g., base, edges) to monitor actual cavity temperature, reducing reliance on controller readouts alone.
Process Tuning: Adapting to Production Needs
Pre-heat the mold to the set temperature and hold for 15–30 minutes before production to ensure thermal uniformity.
Monitor actual mold temperature every 2 hours during production. If deviation exceeds ±2°C, adjust the controller settings or coolant flow.
Recalibrate after material or mold changes—especially when switching from standard to reinforced PP—and verify cooling circuit integrity.
Routine Maintenance: Preventing Drift and Downtime
Clean cooling circuits every 3 months to prevent scale buildup and uneven cooling.
Calibrate temperature sensors monthly; inspect heaters and pumps for proper operation.
Maintain a temperature log (set point, actual value, adjustments) for traceability and troubleshooting.
- Common Temperature-Related Issues and Corrective Actions in Lunch Box Molding
| Problem Observed | Temperature-Related Cause | Recommended Action |
| Visible weld lines at edges or snaps | Mold temperature too low, poor melt fusion | Increase mold temperature by 5–10°C; enhance local cooling at edges |
| Warpage or poor lid fit | Excessive cavity-to-core temperature difference | Reduce to ≤3°C; extend cooling time if necessary |
| Sink marks at base or thick sections | Mold temperature too high, insufficient cooling | Lower temperature by 3–5°C; optimize cooling at thick areas |
| Inconsistent defects despite stable readings | Blocked or leaking cooling channels | Inspect and clean circuits; replace worn seals |
| Uneven gloss on high-gloss lids | Inconsistent heating/cooling rates in dynamic control | Check rapid heating/cooling system pressure; balance flow rates |
- Summary: Three Pillars of Precision Mold Temperature Control for Lunch Boxes
Match Material and Geometry
Set baseline temperatures based on material type (PP, reinforced PP, transparent PP) and part design (edges, base, ribs).
Ensure Uniform Cooling
Properly designed cooling channels and tight control are essential to prevent warpage and sink marks.
Monitor and Maintain
High-precision equipment, real-time monitoring, and regular maintenance eliminate up to 80% of temperature-related defects.
Key Takeaways
For PP-based lunch boxes, mold temperature should typically be 40–80°C, adjusted for part geometry and surface finish.
80% of temperature control issues can be avoided through routine cleaning, calibration, and maintenance.
When defects like weld lines, sink marks, or uneven gloss appear, always check temperature uniformity and cooling efficiency first.